记一次 nginx 配置,让 home.to:8080 访问的服务 通过 pt.to 这个域名来访问
一开始不论怎么配置 /opt/etc/nginx/nginx.conf 总是不生效,在 /opt/etc/nginx/vhost/qbit.conf 下配置了 Hello World 的静态文件也不能访问。后来终于想到了 80 端口被其他服务占用的可能
这是在 openwrt 系统下,很多程序都是“阉割版”,使用 lsof -i:80 或者 lsof -i tcp:80 查看不出任何有用的信息,找不到“罪魁祸首”。最终使用 netstat 命令找到了占用 80 端口的程序:
root@softRouter:~# netstat -tunlp |grep 80
tcp        0      0 0.0.0.0:80              0.0.0.0:*               LISTEN      29131/uhttpd
tcp        0      0 :::80                   :::*                    LISTEN      29131/uhttpd
那么开始实现目的吧
1. 对 uhttpd 服务进行处理
# 停掉 uhttpd 服务
/etc/init.d/uhttpd stop

# 启用 uhttpd 自启 (按理说 already enabled)
/etc/init.d/uhttpd enable
2. 修改 uhttpd 服务的配置文件,修改其服务端口 vim /etc/config/uhttpd
把 listen 的端口号 改成 非 80 端口(没有被其他服务或程序占用即可) 我这里改成了 88
root@softRouter:~# cat /etc/config/uhttpd

config uhttpd 'main'
    list listen_http '0.0.0.0:88'
    list listen_http '[::]:88'
    list listen_proxy '127.0.0.1:8000'
    list listen_https '0.0.0.0:443'
    list listen_https '[::]:443'
    option home '/www'
    option rfc1918_filter '0'
    option max_requests '3'
    option max_connections '100'
    option cert '/etc/uhttpd.crt'
    option key '/etc/uhttpd.key'
    option cgi_prefix '/cgi-bin'
    list lua_prefix '/cgi-bin/luci=/usr/lib/lua/luci/sgi/uhttpd.lua'
    option script_timeout '60'
    option network_timeout '30'
    option http_keepalive '20'
    option tcp_keepalive '1'
    list index_page 'cgi-bin/luci'
    option ubus_prefix '/ubus'

config cert 'defaults'
    option days '730'
    option bits '2048'
    option country 'ZZ'
    option state 'Somewhere'
    option location 'Unknown'
    option commonname 'Openwrt Koolshare mod'
实际上,uhttpd 服务是 openwrt 默认的管理页面使用的 web 服务器,默认占用 80 端口
uhttpd是openwrt上默认的Web服务器,支持CGI,lua脚本,以及静态文件的服务。它是一个精简的服务器,一般适合作为路由器这样的嵌入式设备使用,或者Web服务
3. 配置 pt.to 这个域名解析到 10.10.10.1
修改 /etc/dnsmasq.hosts 此处可以参见我的另一篇文章——使用 DNSmasq 部署家庭网络的公共 dns 和个性化的局域网内的 dns 域名服务:https://hellodk.cn/post/124
我目前修改好的 dnsmasq.hosts 文件如下
root@softRouter:~# cat /etc/dnsmasq.hosts
127.0.0.1 localhost

::1     localhost ip6-localhost ip6-loopback
ff02::1 ip6-allnodes
ff02::2 ip6-allrouters

10.10.10.1 home.to
10.10.10.2 k2p.to
10.10.10.3 tp.to
10.10.10.1 cloud.to
10.10.10.1 pt.to
10.10.10.1 router.to
10.10.10.1 blog.to
然后重启 dnsmasq 服务:
/etc/init.d/dnsmasq restart4. nginx 相关配置
贴上 nginx 的主配置文件:
root@softRouter:~# cat /opt/etc/nginx/nginx.conf
user root root;
pid /opt/var/run/nginx.pid;
worker_processes auto;

events {
    use epoll;
    multi_accept on;
    worker_connections 1024;
}

http {
    charset utf-8;
    include mime.types;
    default_type application/octet-stream;

    sendfile on;
    tcp_nopush on;
    tcp_nodelay on;
    keepalive_timeout 60;

    client_max_body_size 8192m;
    client_body_temp_path /opt/tmp/;
    client_header_buffer_size 1048576k;
    large_client_header_buffers 4 32k;

    gzip on;
    gzip_vary on;
    gzip_proxied any;
    gzip_min_length 1k;
    gzip_buffers 4 8k;
    gzip_comp_level 2;
    gzip_disable "msie6";
    gzip_types text/plain text/css application/json application/x-javascript text/xml application/xml application/xml+rss text/javascript application/javascript image/svg+xml;

    include /opt/etc/nginx/vhost/*.conf;
}
从中看出,nginx 的 main 块、event 块 和 http 块已基本定义好,还有 server 块和 location 块放在了 /opt/etc/nginx/vhost/ 下的 .conf 文件里定义的,我新建了/opt/etc/nginx/vhost/qbit.conf 文件,下面是其内容:
root@softRouter:~# cat /opt/etc/nginx/vhost/qbit.conf
server {
    listen 80;
    server_name pt.to;

    location / {
      proxy_pass http://127.0.0.1:8080;
      index index.html index.php;
    }

}
目前就只这么简单,主要利用的是 nginx 的 proxy_pass 功能,把 软路由上8080 端口对应的服务反向代理了
检测 nginx 配置文件语法 并 重载 nginx 配置:
root@softRouter:~# nginx -t
nginx: the configuration file /opt/etc/nginx/nginx.conf syntax is ok
nginx: configuration file /opt/etc/nginx/nginx.conf test is successful
root@softRouter:~# nginx -s reload
我的 onmp 环境下 启动 nginx 的命令是:
root@softRouter:~# onmp nginx start
Nginx started.
这时去浏览器访问 pt.to:
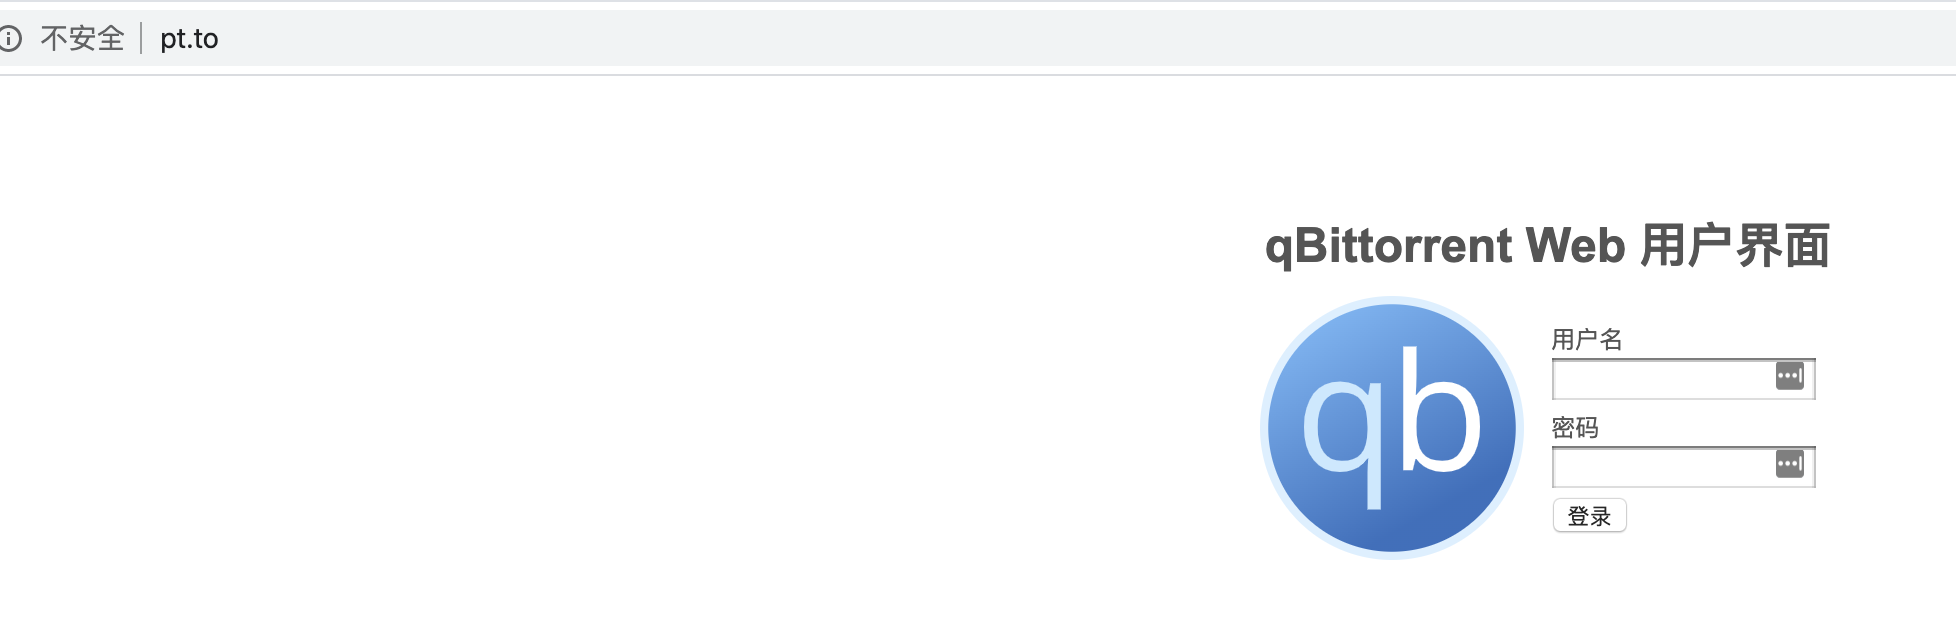
访问 pt.to 成功
总结:nginx 功能非常强大,配置项也是众多且复杂,需要持续学习和持续实践。
引用一部分 https://www.runoob.com/w3cnote/nginx-setup-intro.html 页面上的内容:
...              #全局块

events {         #events块
   ...
}

http      #http块
{
    ...   #http全局块
    server        #server块
    {
        ...       #server全局块
        location [PATTERN]   #location块
        {
            ...
        }
        location [PATTERN]
        {
            ...
        }
    }
    server
    {
      ...
    }
    ...     #http全局块
}
nginx 主配置文件 nginx/nginx.conf 的一些介绍:
-
全局块:配置影响nginx全局的指令。一般有运行nginx服务器的用户组,nginx进程pid存放路径,日志存放路径,配置文件引入,允许生成worker process数等。
-
events块:配置影响nginx服务器或与用户的网络连接。有每个进程的最大连接数,选取哪种事件驱动模型处理连接请求,是否允许同时接受多个网路连接,开启多个网络连接序列化等。
-
http块:可以嵌套多个server,配置代理,缓存,日志定义等绝大多数功能和第三方模块的配置。如文件引入,mime-type定义,日志自定义,是否使用sendfile传输文件,连接超时时间,单连接请求数等。
-
server块:配置虚拟主机的相关参数,一个http中可以有多个server。
- location块:配置请求的路由,以及各种页面的处理情况。
最后特别感谢 msn 和我一起定位问题解决问题 ?
本文分享到这里,end.