openwrt 编译安装 nginx 1.14.0 并编写 init.d 启动脚本
2021年04月22日 update
于是想到应该是由于 nginx 版本升级(1.14.0 到 1.16.1)导致了这个配置不能生效了(应该是和文件传输相关,需要更多的配置项,这个可以留到后面再研究缺少什么配置)
当时通过 pt.to 无法添加种子开启下载任务,当时没有找出来原因,重新编译安装了nginx解决。
现在发现问题不在于nginx版本或者缺少什么文件传输相关的配置,而在于nginx运行时使用的 user 和 group
/etc/nginx/nginx.conf 默认指定的user是这样子的 user nobody nogroup;
nobody 没有权限往磁盘上的路径写数据(要保存 torrent 种子),将这句改成 user root root; 重新启动 nginx 即可
但很奇怪的是,最近一次重新刷的固件,一开始是可以直接通过 pt.to 添加下载任务的,当时的nginx配置应该也就是 user nobody nogroup 呀…… emmm 不过现在问题找到了,bingo
下面是原文
一开始我的 openwrt 机器上安装的 nginx 版本是 1.16.1

上面的是 t400 上的 nginx 版本
1.14.0(系统 Ubuntu 16.04 LTS),下面的是软路由 openwrt 上的
一、安装 1.14.0 的 nginx
为什么要重新安装 1.14.0 版本的呢,这就来说明
openwrt 上运行了 qbittorrent,ip 和端口号是 10.10.10.1:8080 通过这个 ip ➕️ port 完全可以访问,但是由于安装了 nginx,为了便利性,所以配置了一个反向代理,借助 dnsmasq 自定义域名 pt.to 指向了该 url
nginx 读取的 配置文件 pt.conf
server {
    listen 80;
    server_name pt.to;

    location / {
      proxy_pass http://127.0.0.1:8080;
      index index.html index.php;
    }

}
这个配置导致 qbittorrent 无法添加种子,无法完成下载,pt plugin plus 也无法通过 pt.to 这个域名添加下载任务了。这个配置在 t400 上完全正常。在我最近给软路由重刷固件以前也是正常的
于是想到应该是由于 nginx 版本升级(1.14.0 到 1.16.1)导致了这个配置不能生效了(应该是和文件传输相关,需要更多的配置项,这个可以留到后面再研究缺少什么配置)
后面开始卸载 opkg 通过软件源安装的 nginx
卸载 1.16.1 版本的 nginx 并编译安装 1.14.0 版本的 nginx
卸载 1.16.1 nginx,需要强制移除依赖,所以添加了 --force-removal-of-dependent-packages 参数
opkg remove nginx nginx-ssl \
nginx-ssl-util \
nginx-util \
--force-removal-of-dependent-packages
开始编译安装 1.14.0
1. 下载源文件
首先 cd 到一个空间足够的目录,然后下载源文件。在 nginx.org 官网下载
wget http://nginx.org/download/nginx-1.14.0.tar.gz然后解压缩
tar -zxvf nginx-1.14.0.tar.gz2. 进行编译的配置
切换工作目录到解压缩产生的 nginx 程序包文件夹, cd nginx-1.14.0
编译时所需依赖是最麻烦的。这里不像 ubuntu 或者 centos 等 Linux 发行版,在网上自行编译 nginx 或者其他程序会有很多的博客、教程可参考,但是 openwrt 可参考的资料不够多,这里你恐怕要踩坑了
opkg install 安装好必要的依赖库,比如 make、gcc、pcre、libpcre、libpcrecpp、openssl、luasec、luci-ssl-openssl、libopenssl、openssl-util、zlib、zlib-dev,如果你安装时候遇到依赖问题,那么慢慢排查,搜索,安装吧。有些依赖包在 ubuntu 的软件源中的名字和 openwrt 下的不一样,名称不一样,很多依赖包都这样
开始配置
./configure --user=root --group=root \
--prefix=/usr/local/nginx \
--with-http_stub_status_module \
--with-http_realip_module \
--with-http_gzip_static_module \
--without-http_rewrite_module \
--without-http_gzip_module
最终我的配置参数是这样的
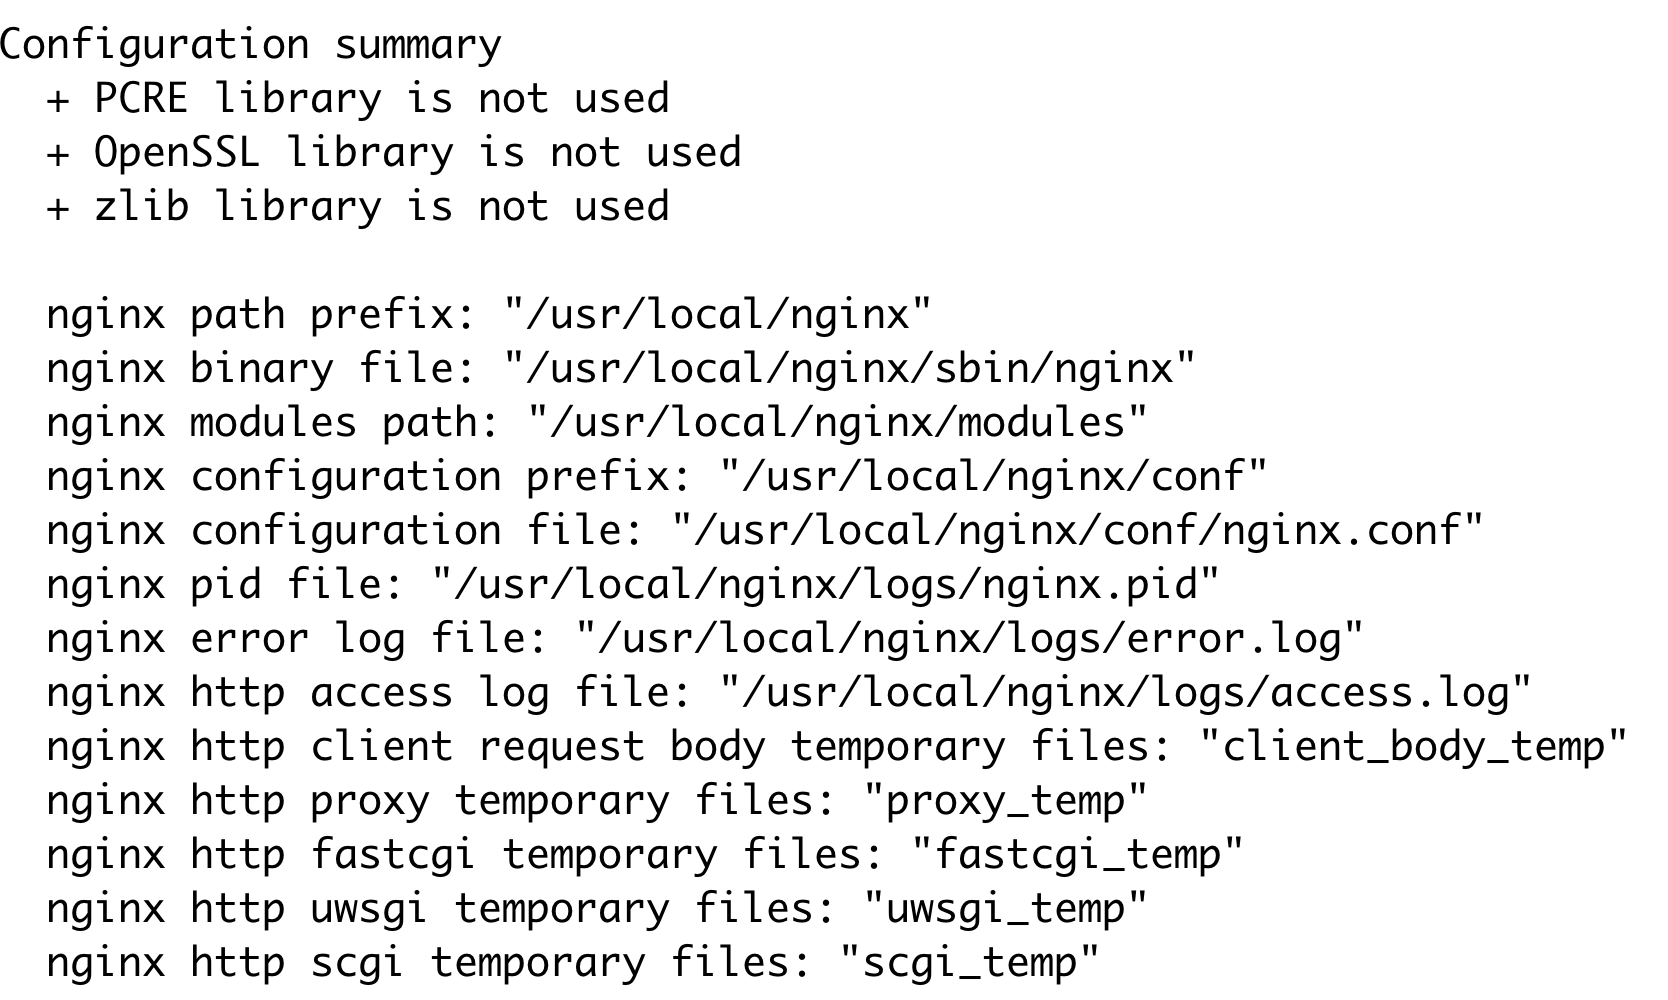
配置摘要信息。PCRE OpenSSL zlib 的库都没有用上,但的确都安装上了。OpenSSL 的库还踩坑了,不知道是不是 openwrt 下的 openssl 的库有问题 还是我装的版本有问题(也可能和使用的源有关系,更有可能需要自己编译某个版本的
libopenssl的 library)
3. 编译和安装 nginx
make && make install不出意外的话,恭喜你已经成功安装好了 nginx 1.14.0 版本

执行
/usr/local/nginx/sbin/nginx -v查看版本
标准配置文件位于 /usr/local/nginx/conf/nginx.conf
在上述 配置文件的 http 模块中添加 include /usr/local/nginx/conf/vhost/*.conf; 语句,在 /usr/local/nginx/conf/ 下新建 vhost 文件夹,把 pt.conf 拷贝到 /usr/local/nginx/conf/vhost/ 中
编辑 /etc/profile 把 nginx 可执行文件的路径 添加到系统 PATH 变量中,执行 which nginx
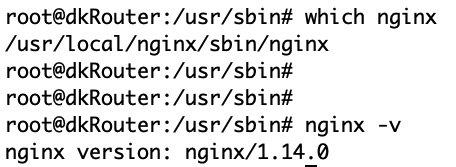
环境变量也配置好了
这个时候可以通过 nginx 命令启动了
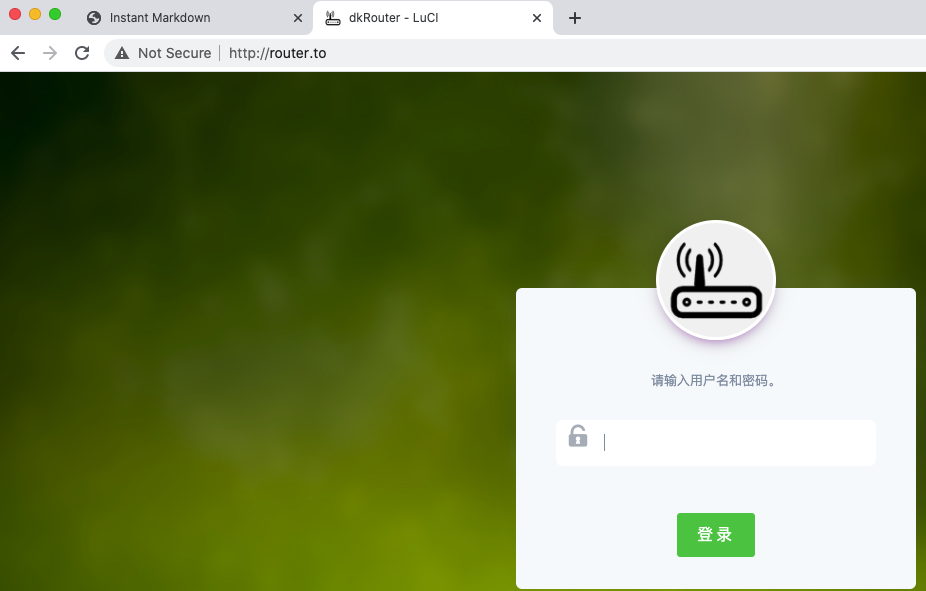
启动后访问
router.to
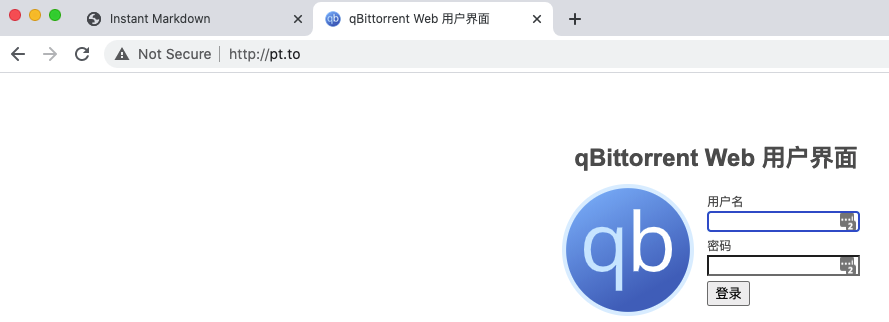
启动后访问
pt.to
经过测试,可以添加下载任务了
二、编写 init.d 启动脚本
编写脚本,vim /etc/init.d/nginx 填上以下内容,脚本本人亲测可用
#!/bin/bash /etc/rc.common
# author: hellodk
# Copyright (C) 2021

START=99
STOP=5

NGINX="/usr/local/nginx/sbin/nginx"

nginxProcessCount=`ps aux |grep "/usr/local/nginx/sbin/nginx" |grep -v grep |wc -l`

start() {
        echo "nginx starting"
        sleep 2
        $NGINX -c /usr/local/nginx/conf/nginx.conf
        # commands to launch application
}

stop() {
        $NGINX -s stop
        echo "nginx stopped"
        # commands to kill application
}

restart() {

    if [ $nginxProcessCount -gt 0 ]; then
    stop
    sleep 2

    else
    echo "no nginx master process running now, let's start nginx directly"
    fi

    start

}
给这个文件添加 755 的权限 chmod 755 /etc/init.d/nginx
然后便可以通过 init.d 脚本启停 nginx 了
执行 /etc/init.d/nginx enable 让 rc.d 来管理 使 nginx 服务能够开机自启
检查 /etc/rc.d/ 目录下是否有 nginx 即可
# ll /etc/rc.d |grep nginx
lrwxrwxrwx    1 root     root            15 Apr 13 11:23 K5nginx -> ../init.d/nginx*
lrwxrwxrwx    1 root     root            15 Apr 13 11:23 S99nginx -> ../init.d/nginx*
经测试开机自启没有问题。
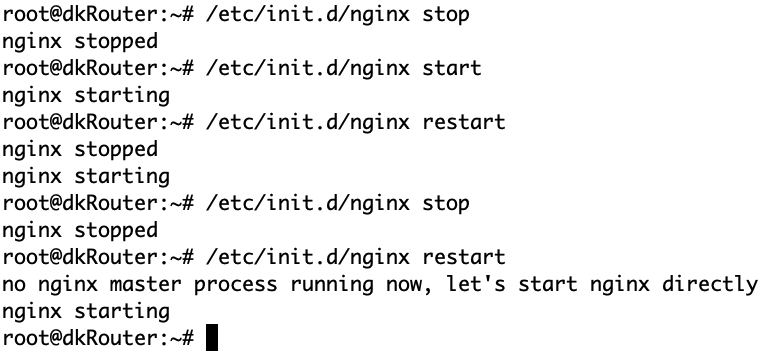
启动和停止的一些操作记录
本文的分享结束
end.